 Clogged nozzles can cause printing issues, and printers encounter problems, primarily when operating continuously. Your piezo printhead must be maintained to achieve the expected lifespan and highest print quality.
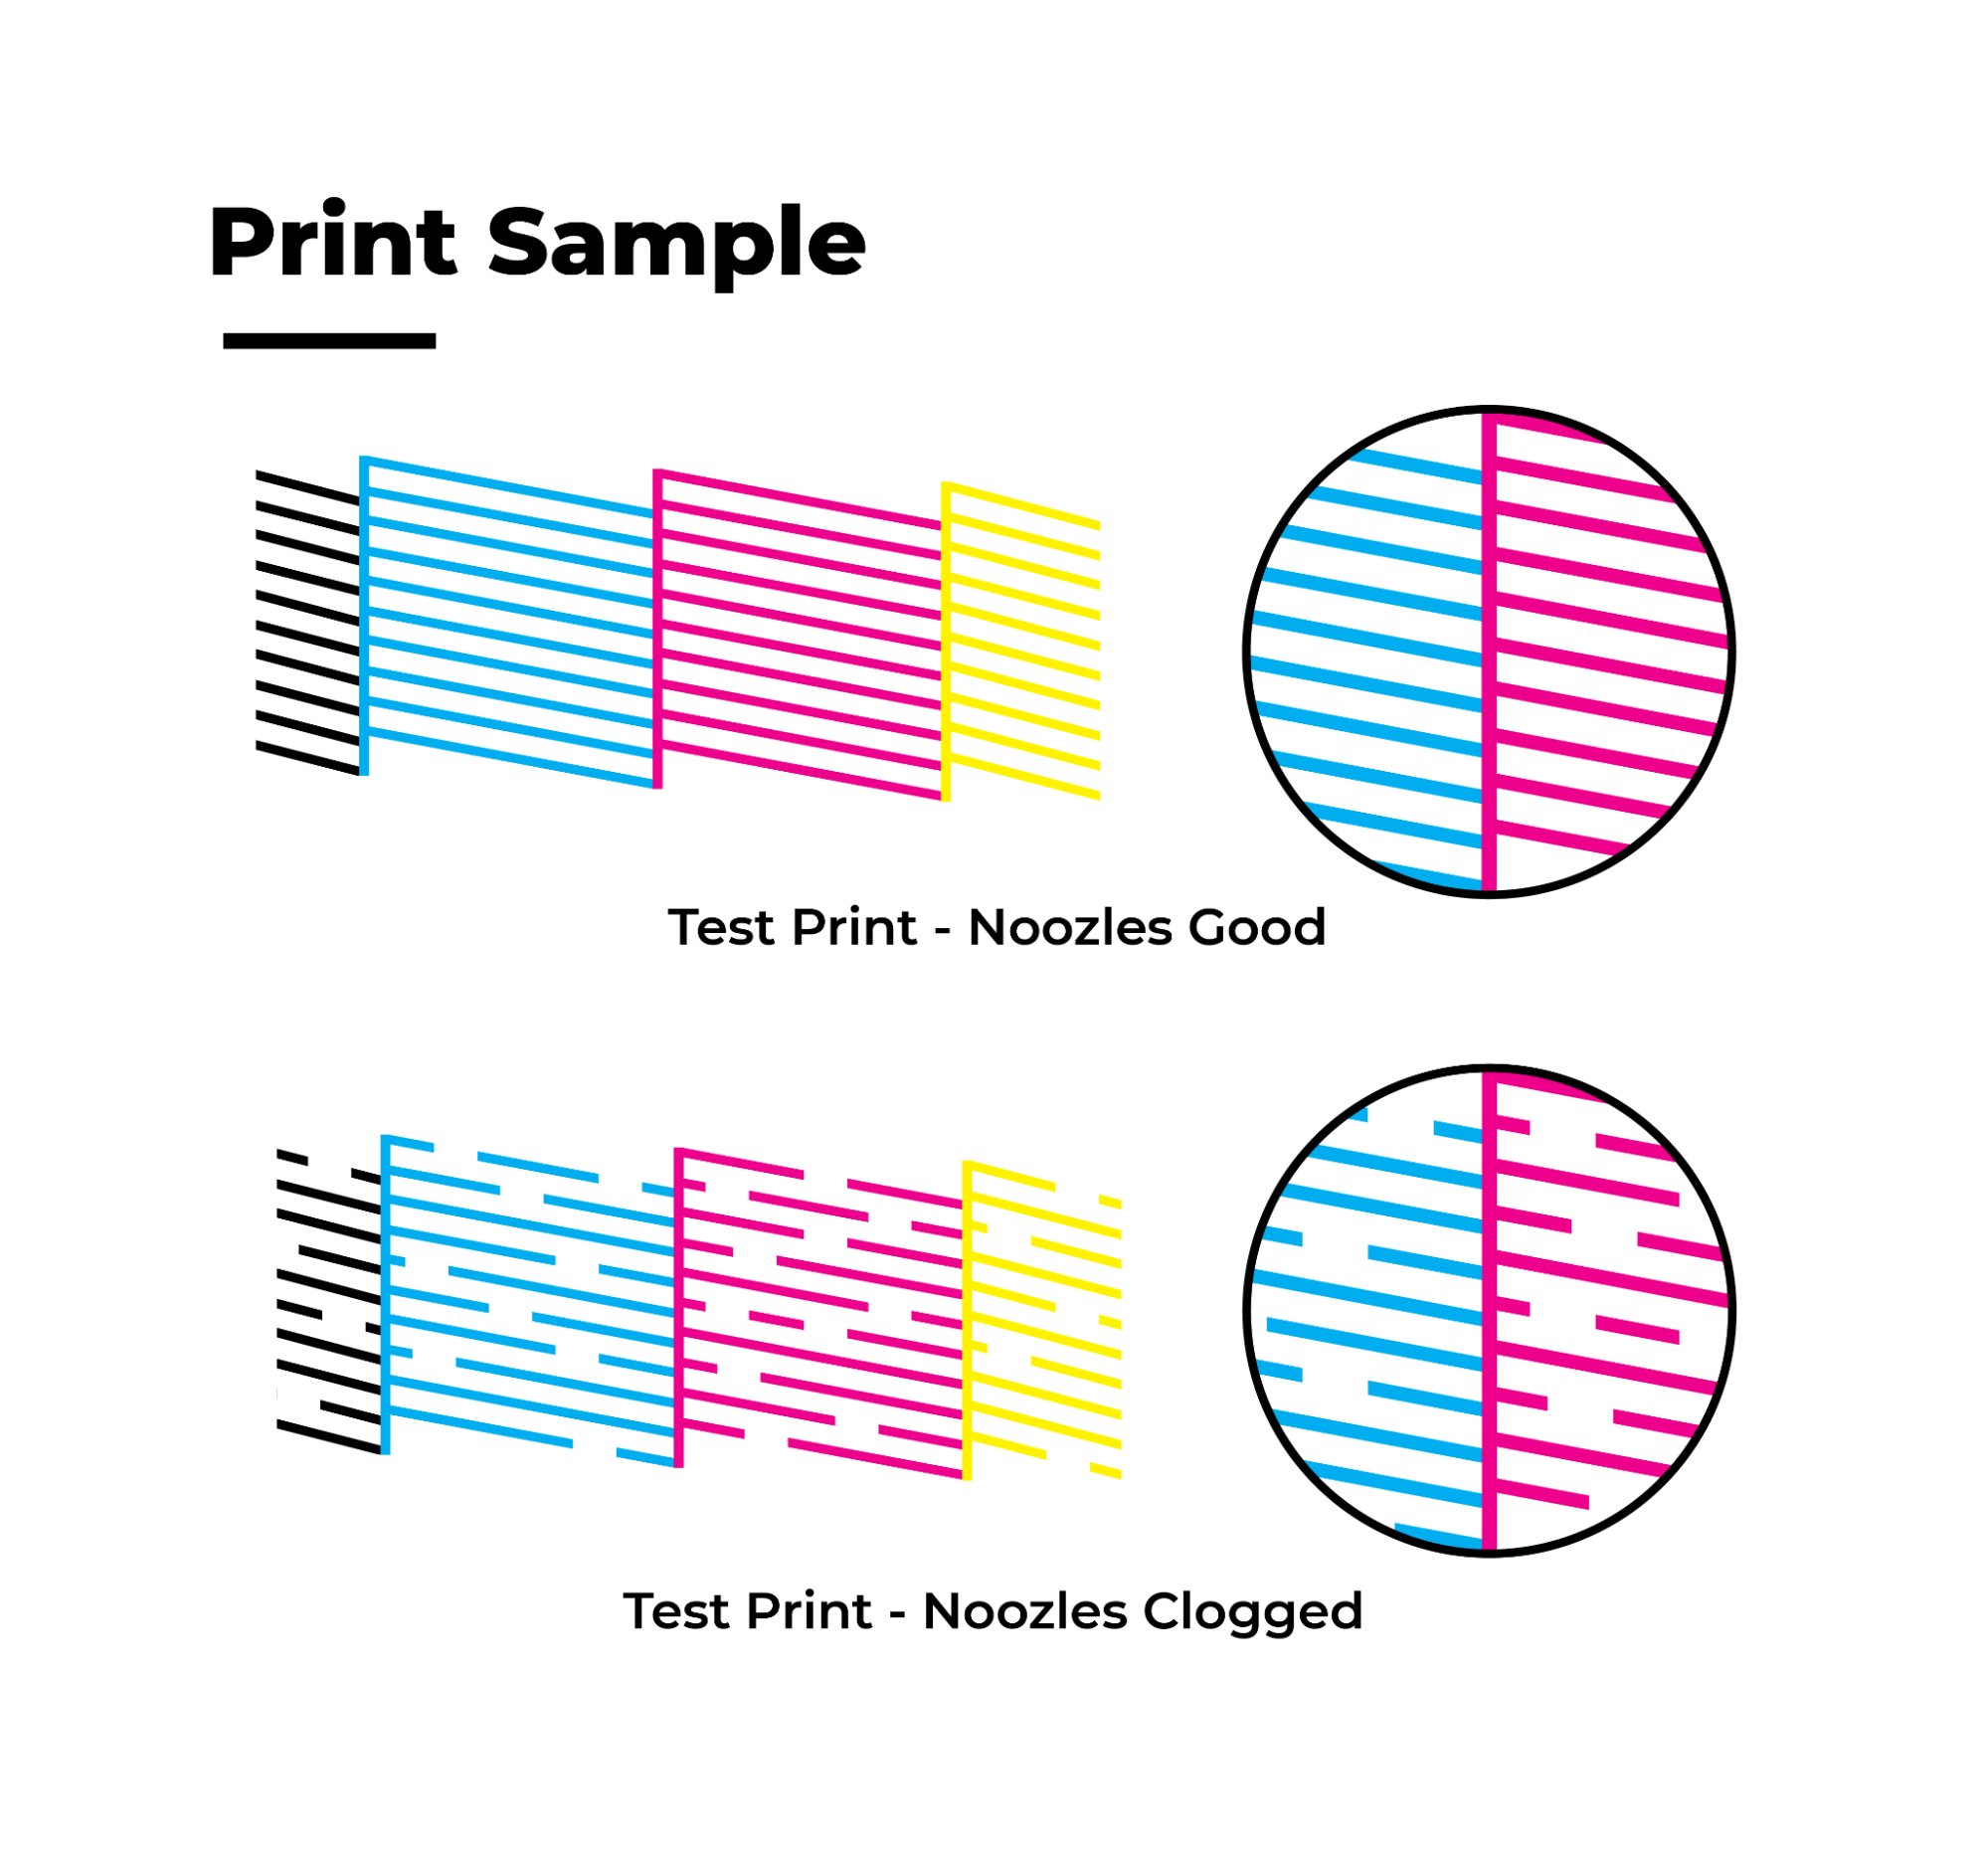
It is routine to check the nozzle before printing and run test prints before production. This helps you understand your printhead’s current condition and decide if any cleaning is required.
Printheads clog periodically as small amounts of ink may cure on the nozzles or dust collects on the equipment.
Faint, streaky, or spotty prints are all common signs of a clog.
Curable inks are a double-edged sword. The good part is the inks cure completely and is generally impervious to chemical cleaners. The bad part is that the ink cures completely and is generally impervious to solvents. It can be difficult to remove where it is not wanted.
For cleaning and maintaining any printheads, always follow the guidelines and instructions mentioned in the printer catalog and manual.
Preventive Actions
While you may not prevent printheads from clogging completely, it is best to follow a few simple steps to avoid problems.
- Select inks with high-quality ingredients to avoid ink sediments at the nozzle.
- Store inks at recommended environmental conditions for temperature and humidity.
- Activate the self-automated maintenance module if you will not use the printer for an extended period.
- Change consumables often (every 2 – 3 months), including ink bottles, ink dampers and wipers, and cap tops.
- Avoid printhead exposure to strong direct sunlight and other UV lighting resources.
Avoiding Ink Curing on Printheads and Nozzles
Benefits of LED Curable Ink for Cardboard
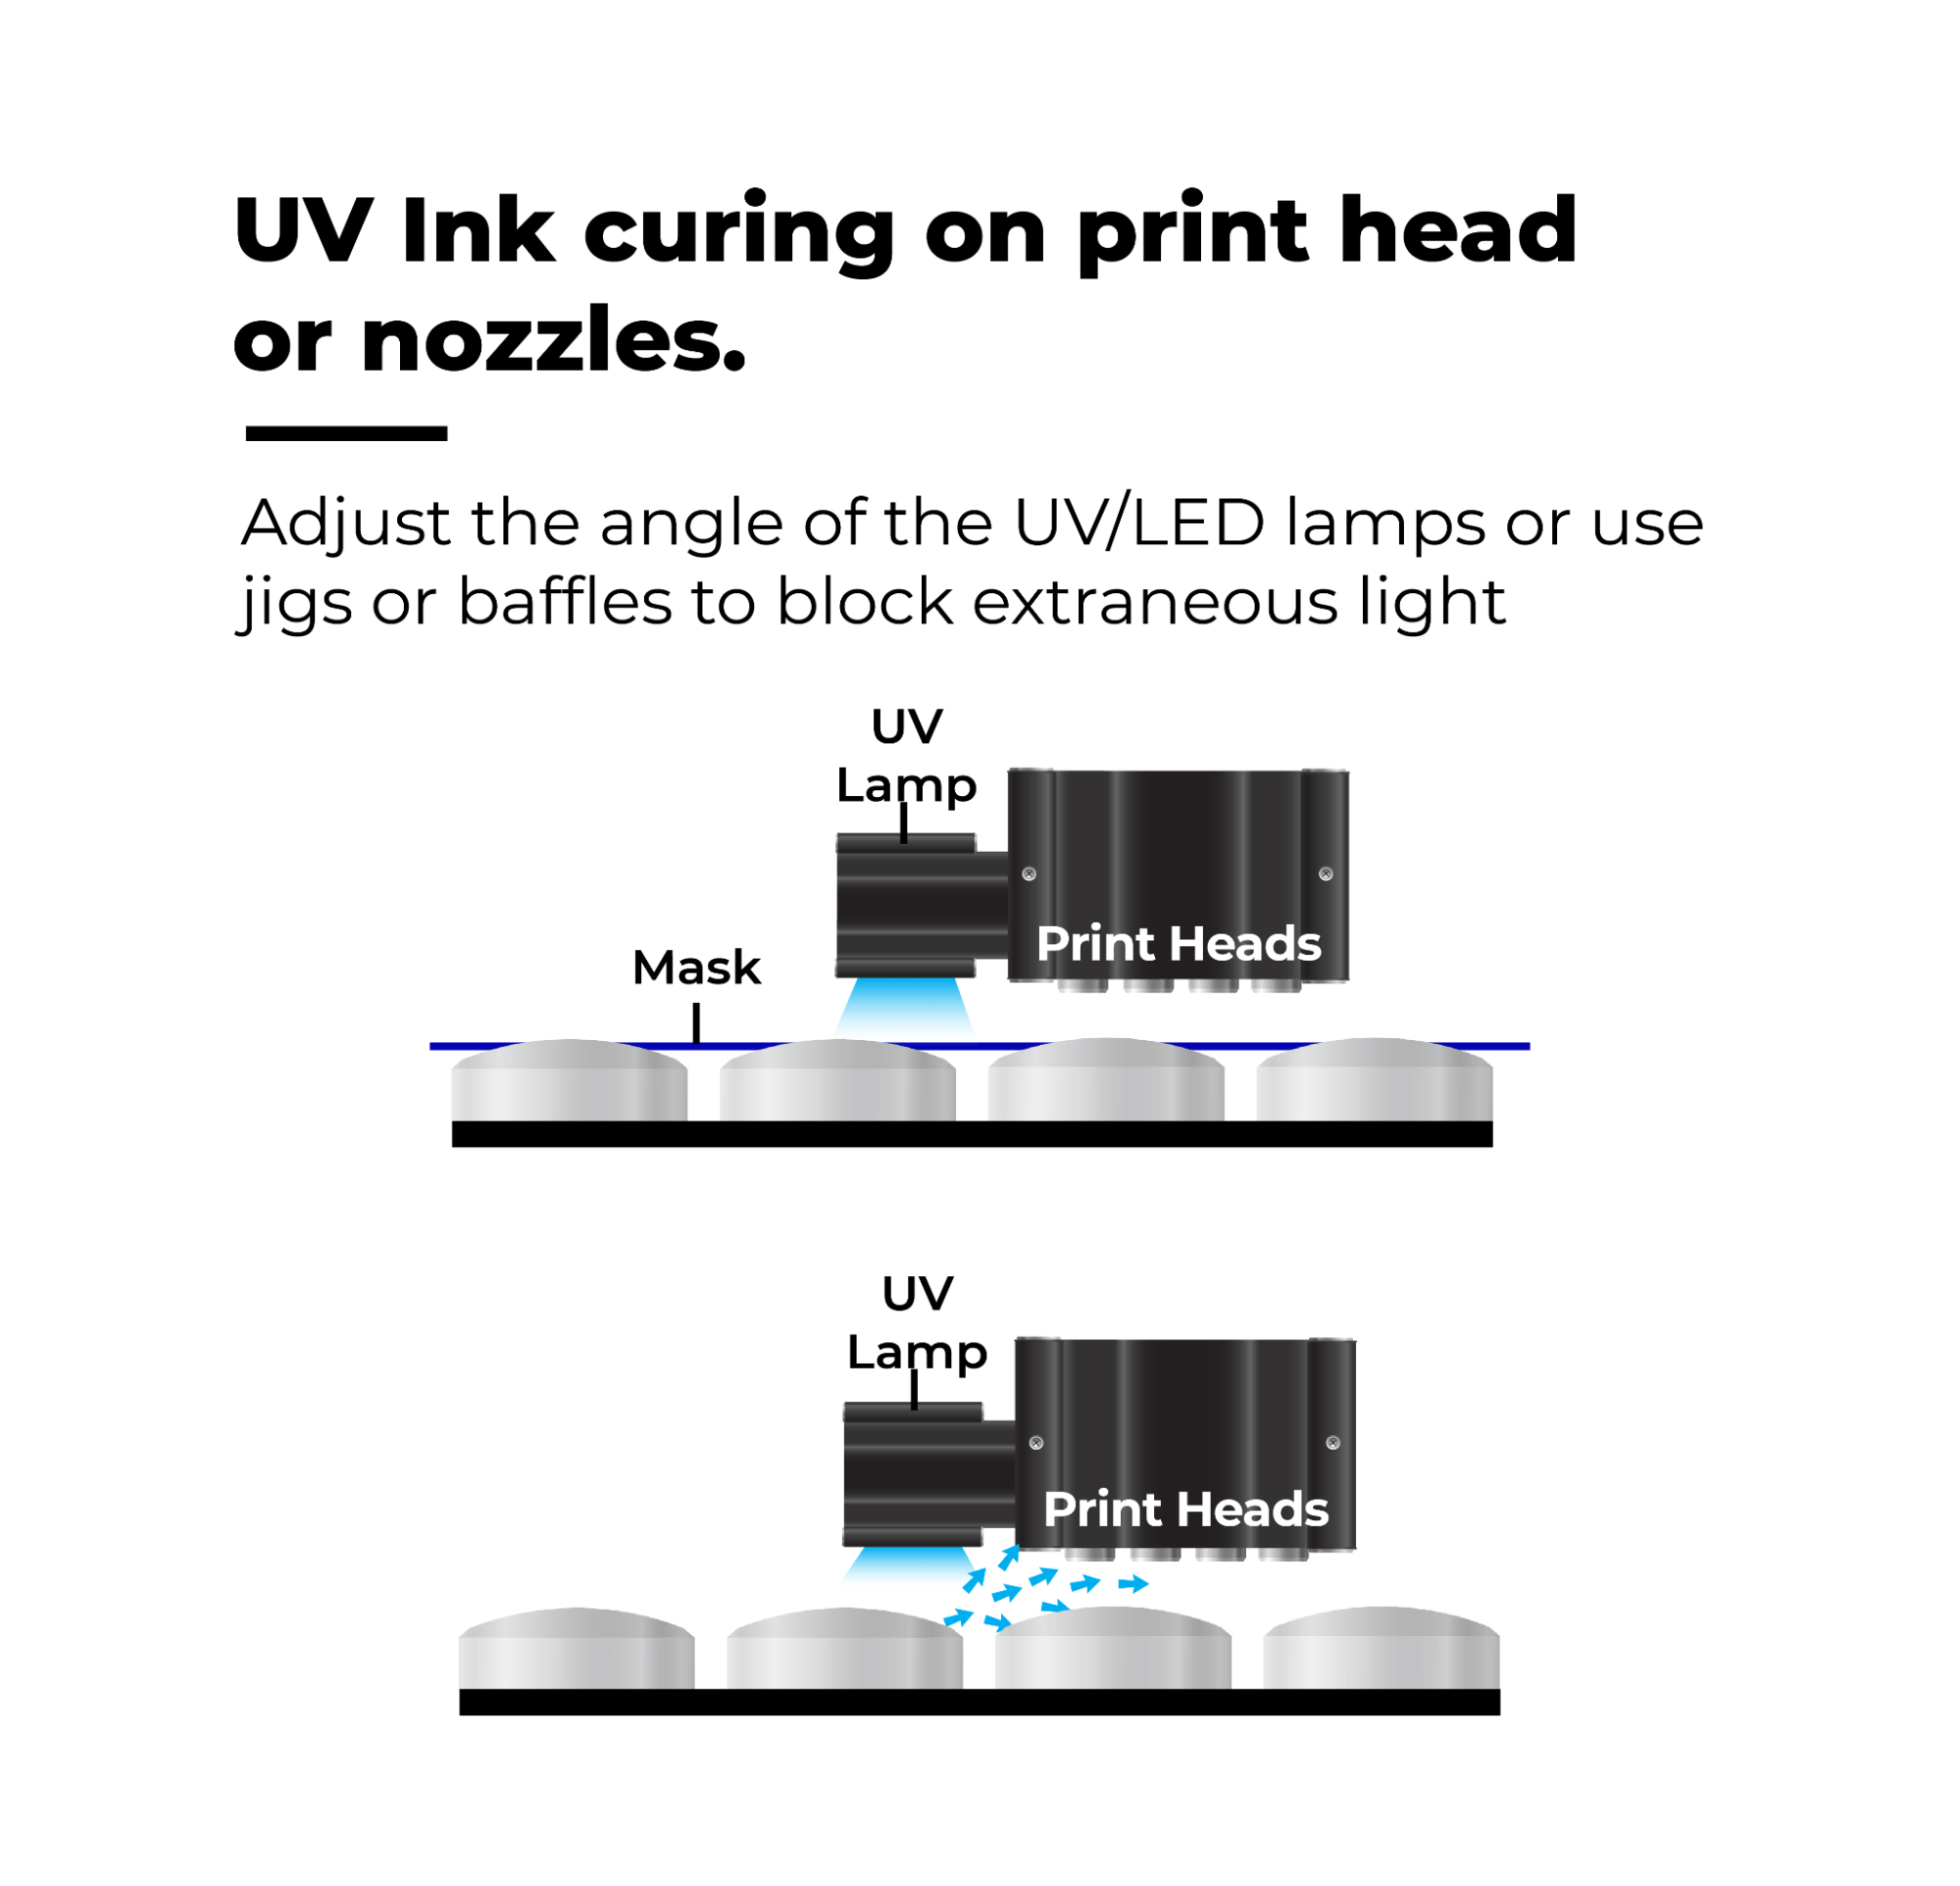
Stray UV light reflecting from glossy substrates, including glass, crystal, shiny metals, etc., can strike the nozzles, causing the ink to cure on the nozzles or nozzle plate.
The cured ink is difficult to remove, causing damage to the printhead and shortening the life of the head.
Necessary steps to prevent UV curing from damaging printheads
- Print onto substrates that are ‘flat’ or parallel to the head array
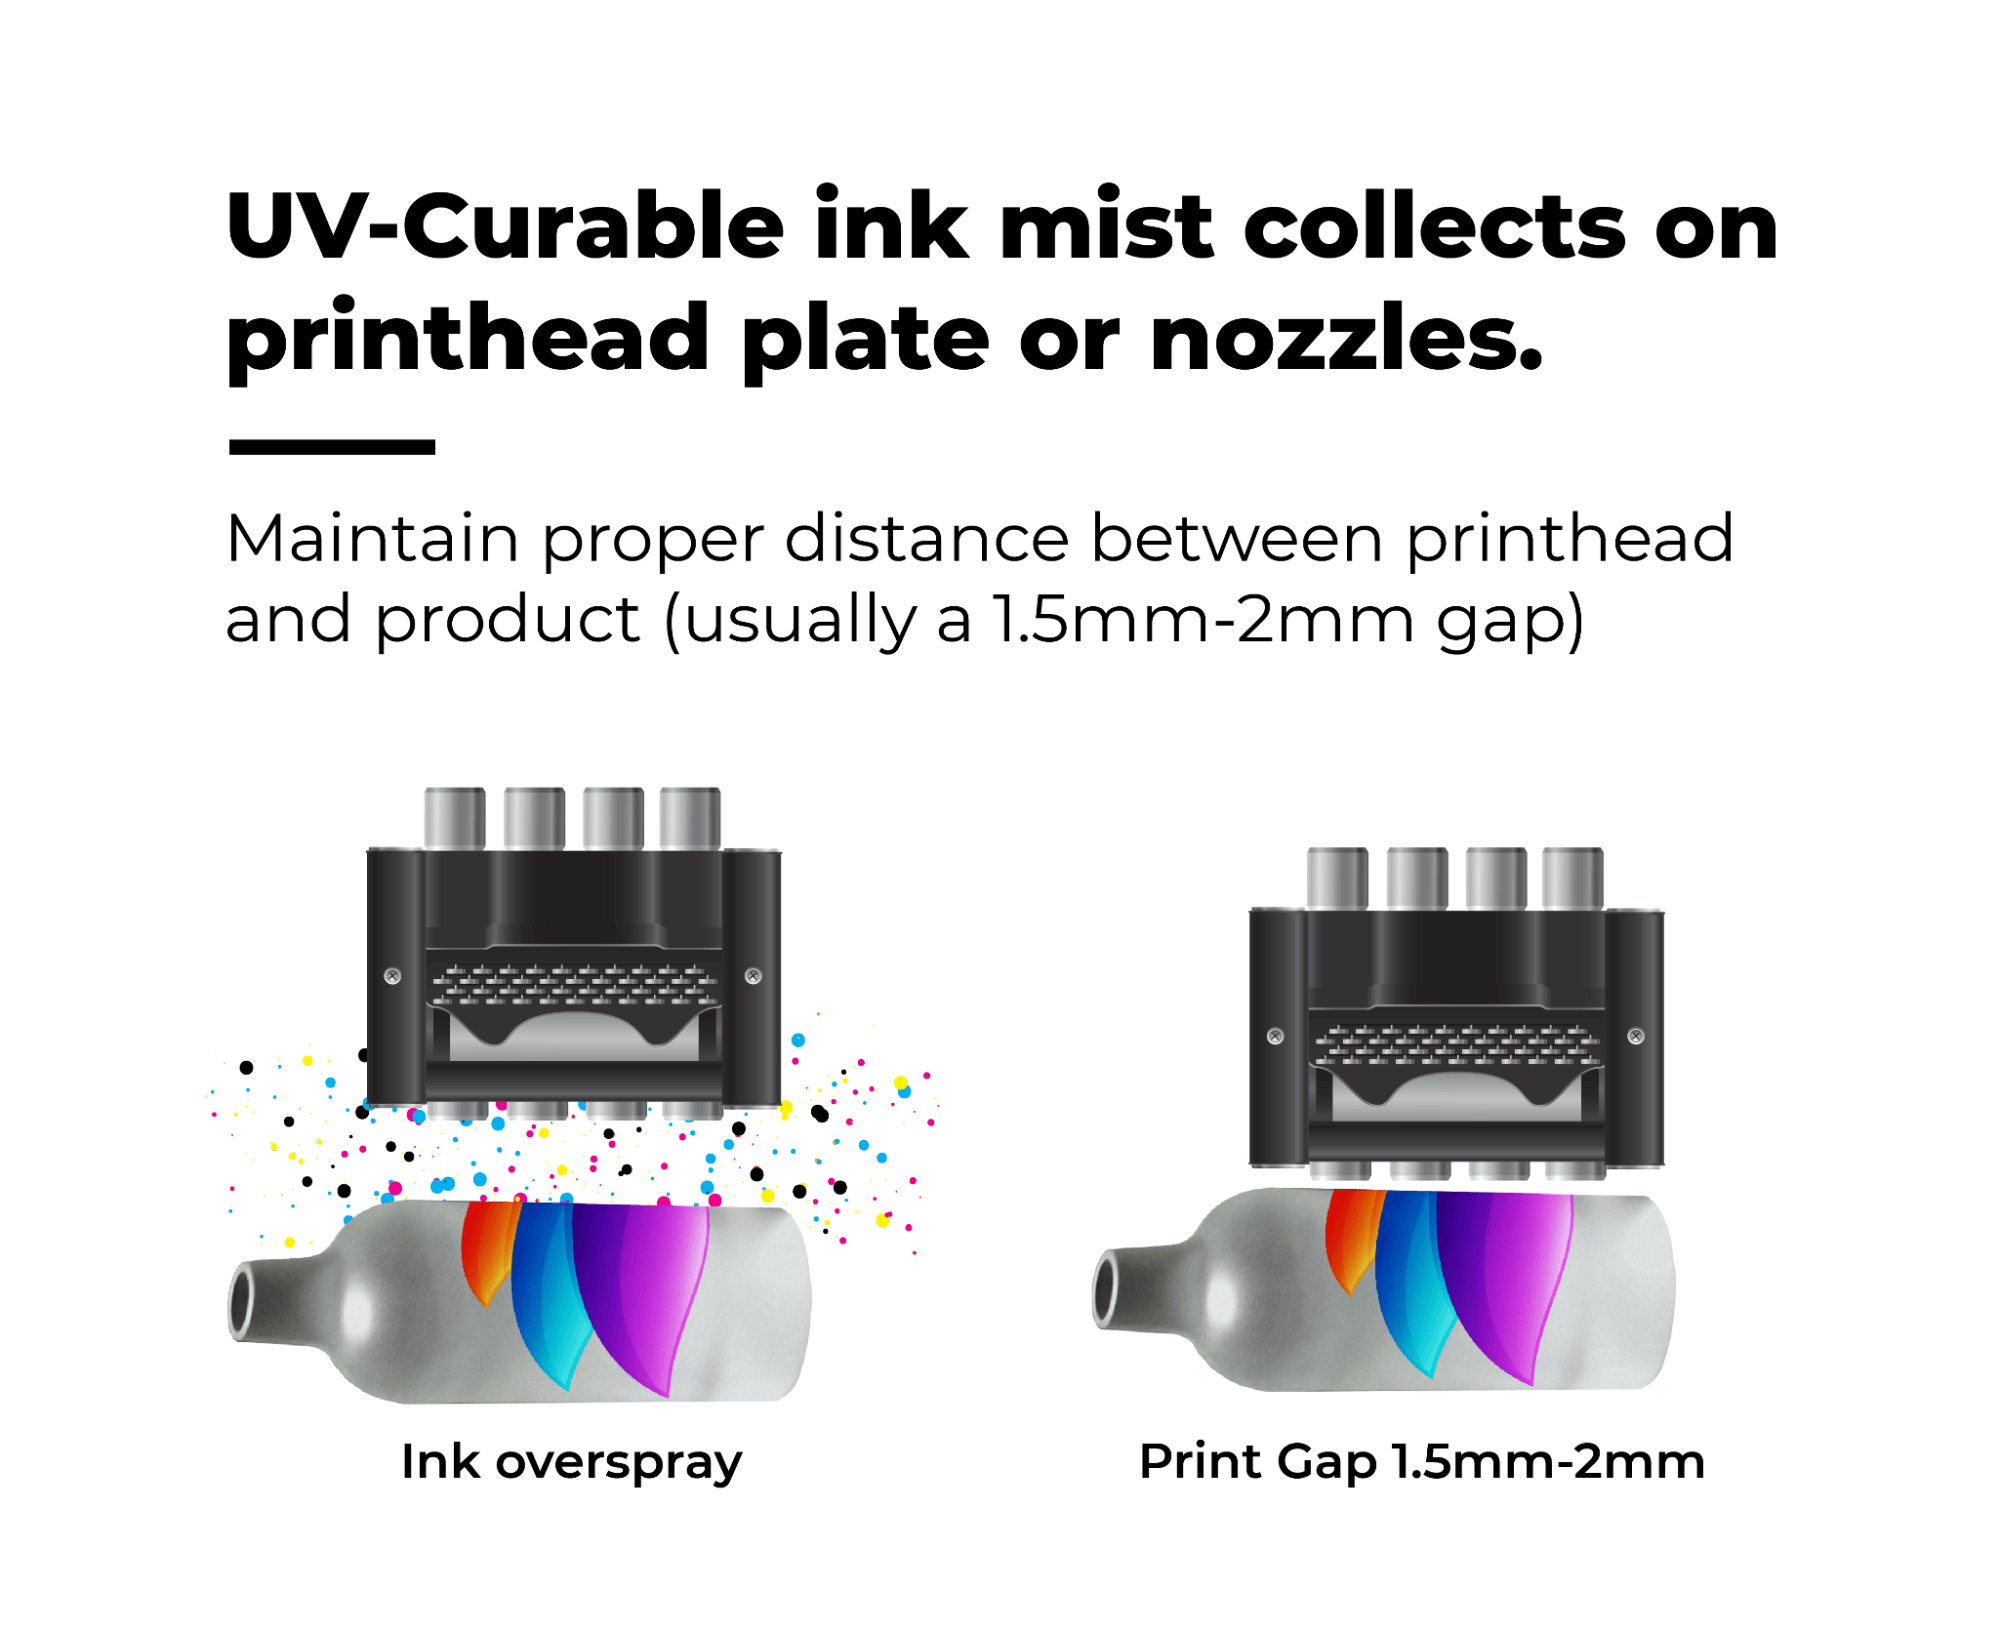
- Avoid a gap greater than 1.5mm – 2mm between the printhead and material. And, be sure the platen gap is no larger than 1.5mm. If you happen to be printing on a flexible mirrored substrate, be sure to attach it to a flat material to avoid any UV reflection back into the printhead.
- When designing a fixture or jig, be sure it is a dark matte finish material, and cover negative space to block UV light from bouncing to the printheads.
- Evaluate the angle and intensity of the UV lamps. Always use the lowest level of UV energy possible to produce a complete cure.
- Check the performance health of your nozzles. Always perform an auto cleaning to ensure that all nozzles are working. During production, run the nozzle checks periodically.
- As a best practice, perform nozzle checks at the end of every shift or production cycle. If any nozzles are mis-jetting, clean printheads before powering down the printer.
- If you notice that ink is curing either in the nozzles or on the faceplate, flush the affected printhead with manufacturer-recommended maintenance fluid.
Follow all the provided instructions from your printer manufacturer, using only prescribed cleaning materials.
Cleaning and Maintenance
Preventive care, maintenance, and cleaning reduce the need for aggressive maintenance methods or, worse, returning the equipment for repair. Prevent the ink from building up on the printhead to avoid clogs that result in downtime from time-consuming clean-ups.
Most UV printers have an integrated cleaning function in their systems that automatically sprays and flashes printheads. You can also adjust the flash spraying feature to your preferred setting for regular cleaning and prolonging the printhead’s service life.
You’ll still need to clean your UV printer manually.
- Wipe the underside using manufacturer-recommended polyester swabs, wipes, and a prescribed cleaning solution. This maintains the efficiency of your printer.
- Next, carefully work around the printheads to avoid dragging any debris from the carriage onto the heads. It is essential to use clean, lint-free wipes when handling the heads. Liberally wet the fabric with the cleaning solution before you begin wiping. Wipe in one direction only. You also need to remove ink cured on the printhead surface, which leads to eventual buildup and blockages.
- Inspect and clean the wiper and capping station after completing the initial printhead cleaning. The capping station protects the printhead from environmental contaminants. Likewise, the wiper touches the printhead during the cleaning procedure throughout the day, and thus it is advisable to clean and replace it as recommended by the manufacturer.
- Using polyester cleanroom-certified swabs and towels, clean the machine of dust and lint that can interfere with component performance.
Dos and Don’ts to Get the Most from your UV Inkjet Printer
Dos
- Maintain the proper gap between the printhead and the product or substrate.
- Adjust the angle of lights to avoid extraneous UV light from hitting the printhead.
- Shield printheads from extraneous UV light.
- Ensure proper grounding or maintain recommended relative humidity to avoid electrostatic discharge.
Don’ts
- Mix batches of ink or use poor-quality ink.
- Clean the printhead with high-pressure air. A vacuum may remove dust from slightly-clogged printheads.
- Use ultrasonic cleaning systems.
- Submerge or soak the printhead in recommended cleaning fluids.
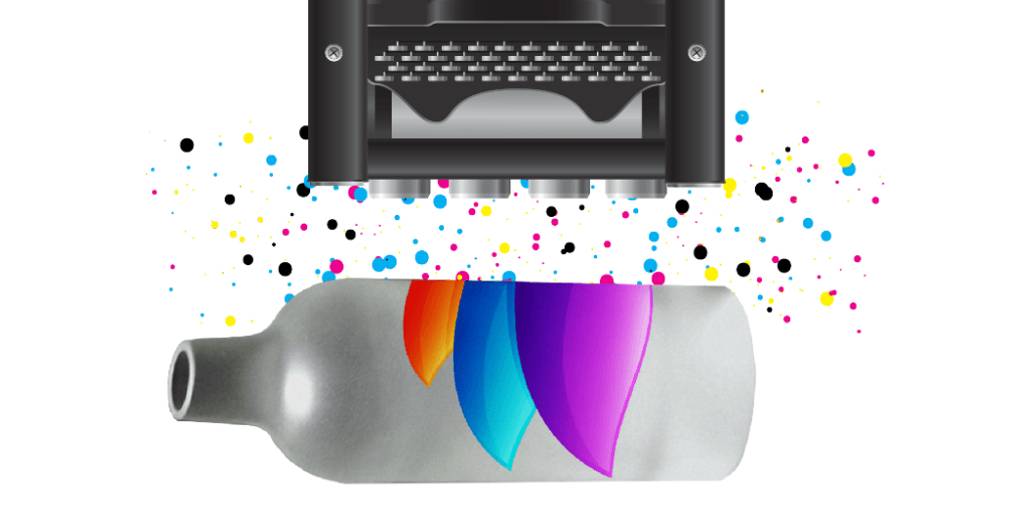
The products printed often dictate your cleaning and maintenance schedule. A good rule of thumb is to perform maintenance after every 8-hour cycle. Cylindrical, tapered, and rounded objects may generate more ink mist and require more frequent cleaning and maintenance.
Contact Kao Collins about UV and LED curable inks.


